 Welcome to WAPTO!
1. Overview
Custom Fields are dynamic data attributes that allow businesses to extend default contact profiles with business-specific information. By capturing personalized data point—from lead sources to specific customer preferences—you can drive highly targeted automation and personalization across the Wapto ecosystem.
- Advanced Personalization: Use custom attributes as
variables in message templates (e.g.,
{{membership_id}}). - Granular Segmentation: Filter your contact list based on specific field values for targeted broadcasts.
- Flexible Field Types: Support for text, select menus, numbers, and long-form text areas.
- Automation Triggers: Use custom field updates to initiate webhook events or flow sequences.
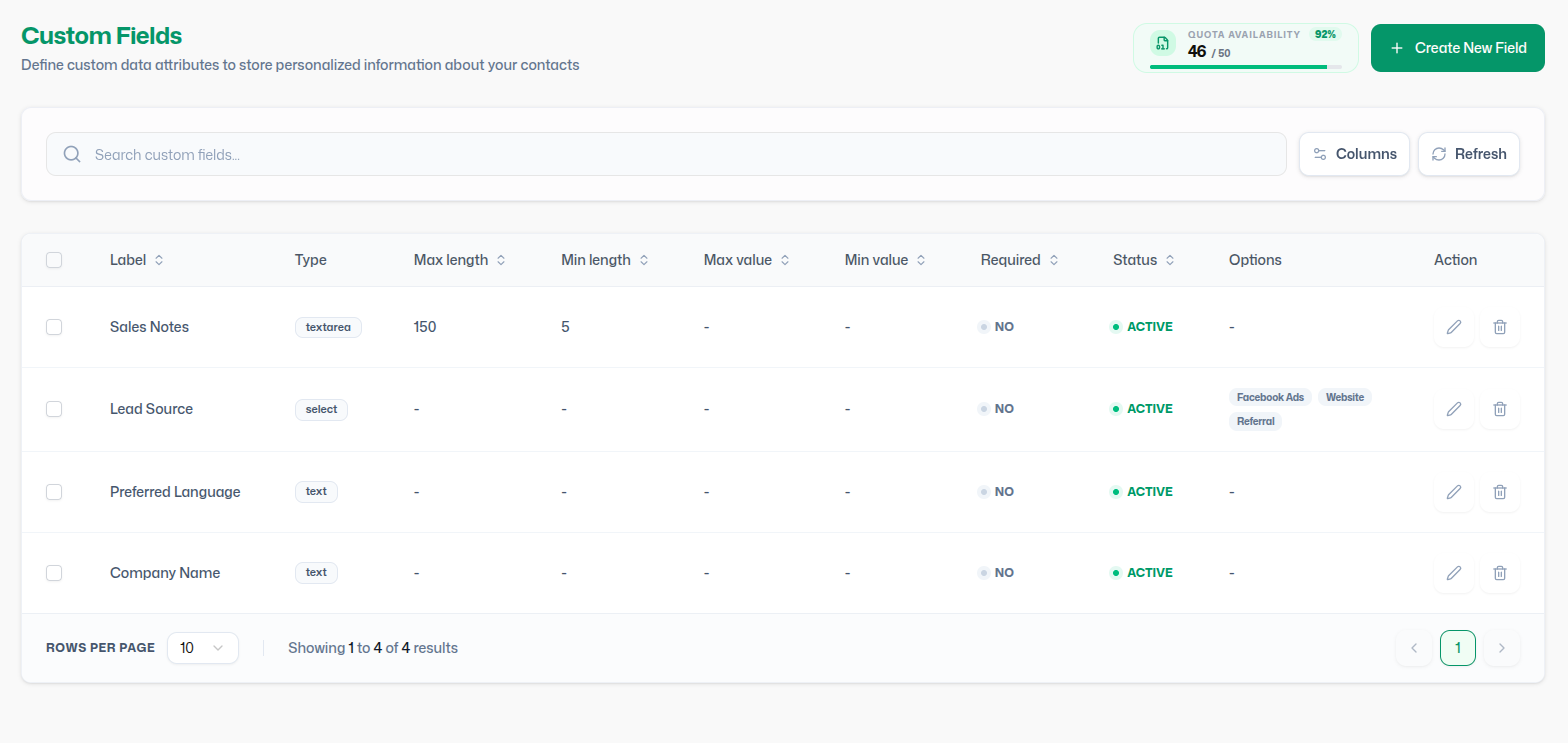
2. Custom Fields Dashboard
Centralize the management of all your bespoke data attributes from a high-visibility interface.
Infrastructure Components
- Remaining Capacity: Real-time tracking of current fields vs. plan limits (e.g., 46 / 50).
- Primary Action Hub: Instant access to the "Create New Field" modal and Refresh options.
- Attribute Grid: A searchable list displaying field types, required status, and configuration states.
3. Interface Data Points
The management grid provides a comprehensive overview of every active attribute in your system.
| Column Name | Description |
|---|---|
| Label / Type | The user-facing name (e.g., "Sales Notes") and technical input type (e.g., "textarea"). |
| Limits (Min/Max) | Validation constraints for text or numerical data entry. |
| Required Status | Indicates if the field is mandatory during contact creation. |
| Options | Displays the pre-defined choices for "Select" type dropdown menus. |
4. Provisioning Protocol

5. Lifecycle & Integration Flow
Custom fields are integrated deep into the contact management lifecycle for automated performance.
1. Provisioning
Create the "Lead Source" field with pre-defined dropdown options.
2. Data Ingestion
The field appears in the contact creation form; agents select "Facebook Ads".
3. Strategic Filtering
Filter your database for contacts where "Lead Source" = "Facebook Ads".
4. Targeted Execution
Run a high-conversion broadcast campaign specifically for that segment.
6. Core Business Benefits
Hyper-Targeting
Drive 2x conversion by segmenting based on real user data.
Personalization
Use dynamic variables to make agents feel like they know the user.
Operational Insight
Track ROI by monitoring lead sources in real-time.
Adaptive CRM
Tailor the system to your specific business model and industry.
7. Strategic Governance & Best Practices
Maintenance Protocol
- Meaningful Labels: Use descriptive names (e.g., "Subscription Tier") instead of generic "Field 1".
- Avoid Clutter: Delete unused or archaic fields to keep the contact edit form clean.
- Standardize Input: Use "Select" fields for critical data to prevent typos in segmentation.
Tip: Always provide "Placeholder Text" to guide agents on what specific information needs to be captured in each field.
8. Technical Troubleshooting
| Symptom | Diagnostic & Resolution |
|---|---|
| Field Not Visible | Check the "Visibility" toggle in the field configuration. Refresh the index. |
| Data Not Saving | Ensure the Column Label is filled and any "Required" field constraints are met. |
| Options Missing | Verify that you have defined and saved options for the "Select" type field. |
| Capacity Reached | Remove unused custom fields to free up space within your plan limits. |