 Welcome to WAPTO!
Get an AI summary of this page
SECTION 3: Required Assets
- Meta App (with WhatsApp product)
- WhatsApp Business Account (WABA)
- Phone Number
- System User (recommended for production)
SECTION 4: Step-by-Step Permission Setup
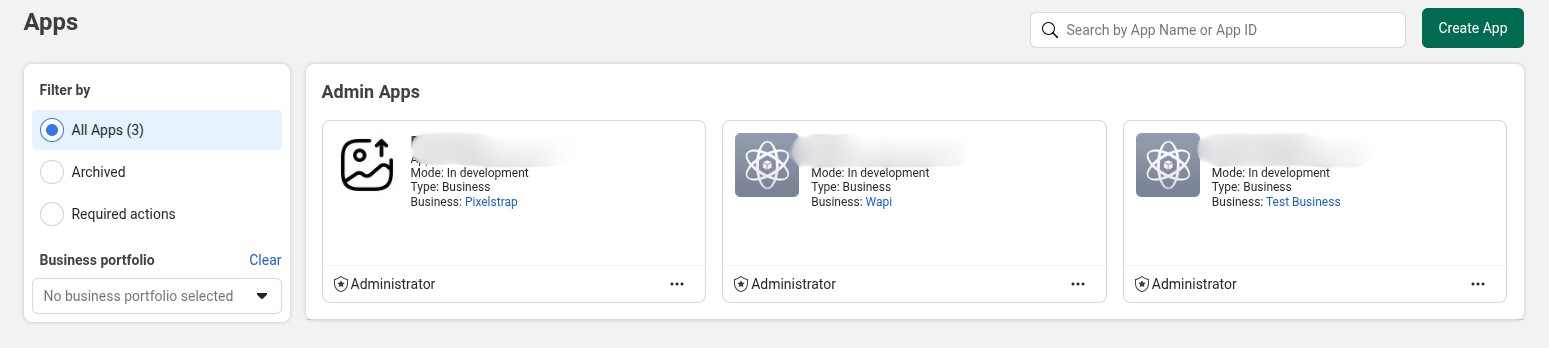
Step 1: Create Meta App
- Go to Meta Developer Portal
- Create new app
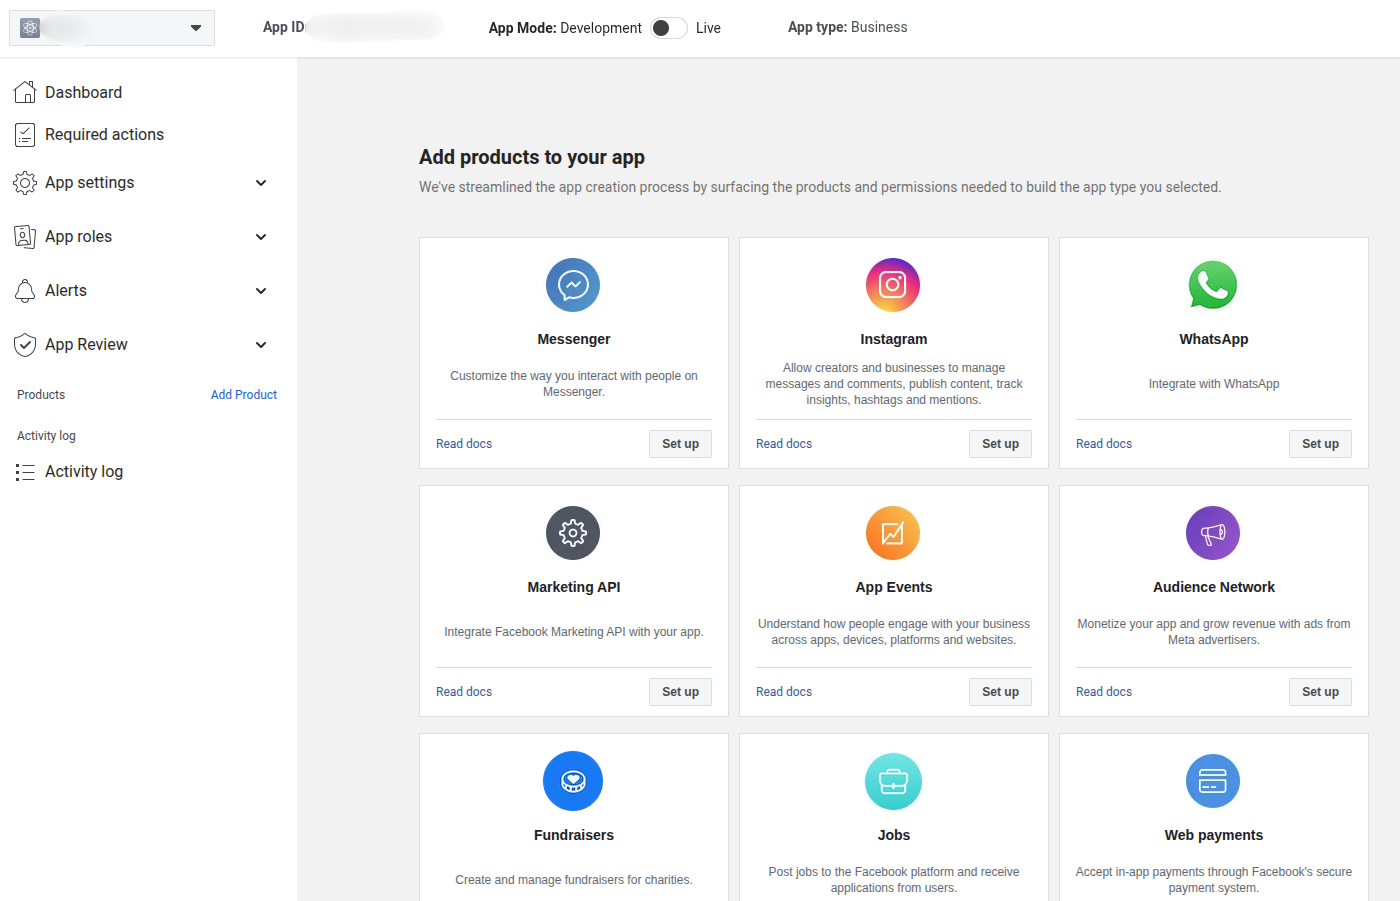
- Add WhatsApp product
Step 2: Open Meta Business Manager
- Navigate to Business Settings
- Ensure business is verified (recommended)
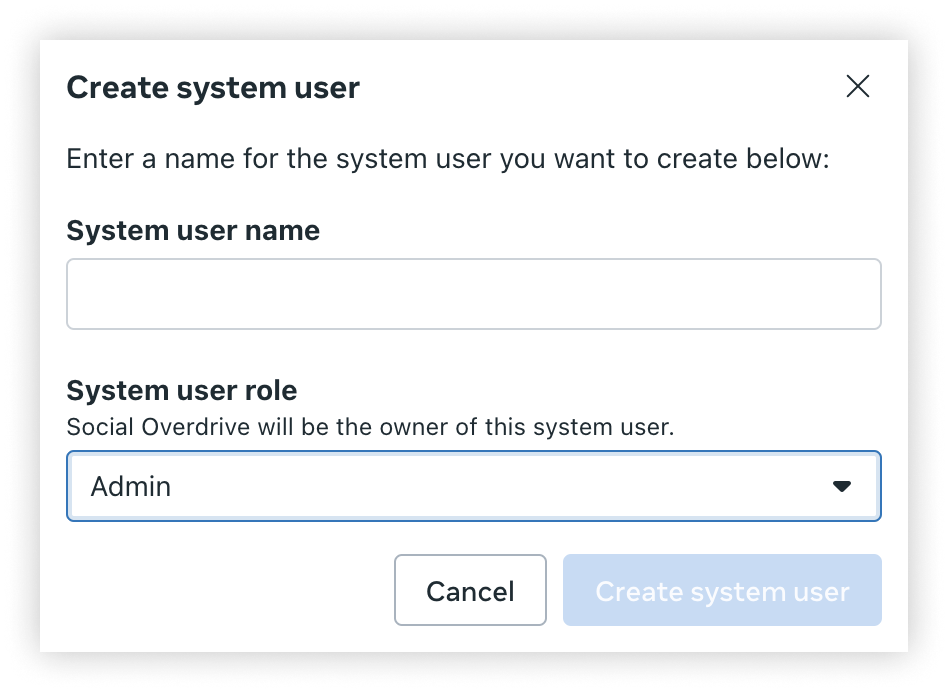
Step 3: Create System User
- Go to: Users → System Users
- Click Add
- Assign: Admin role

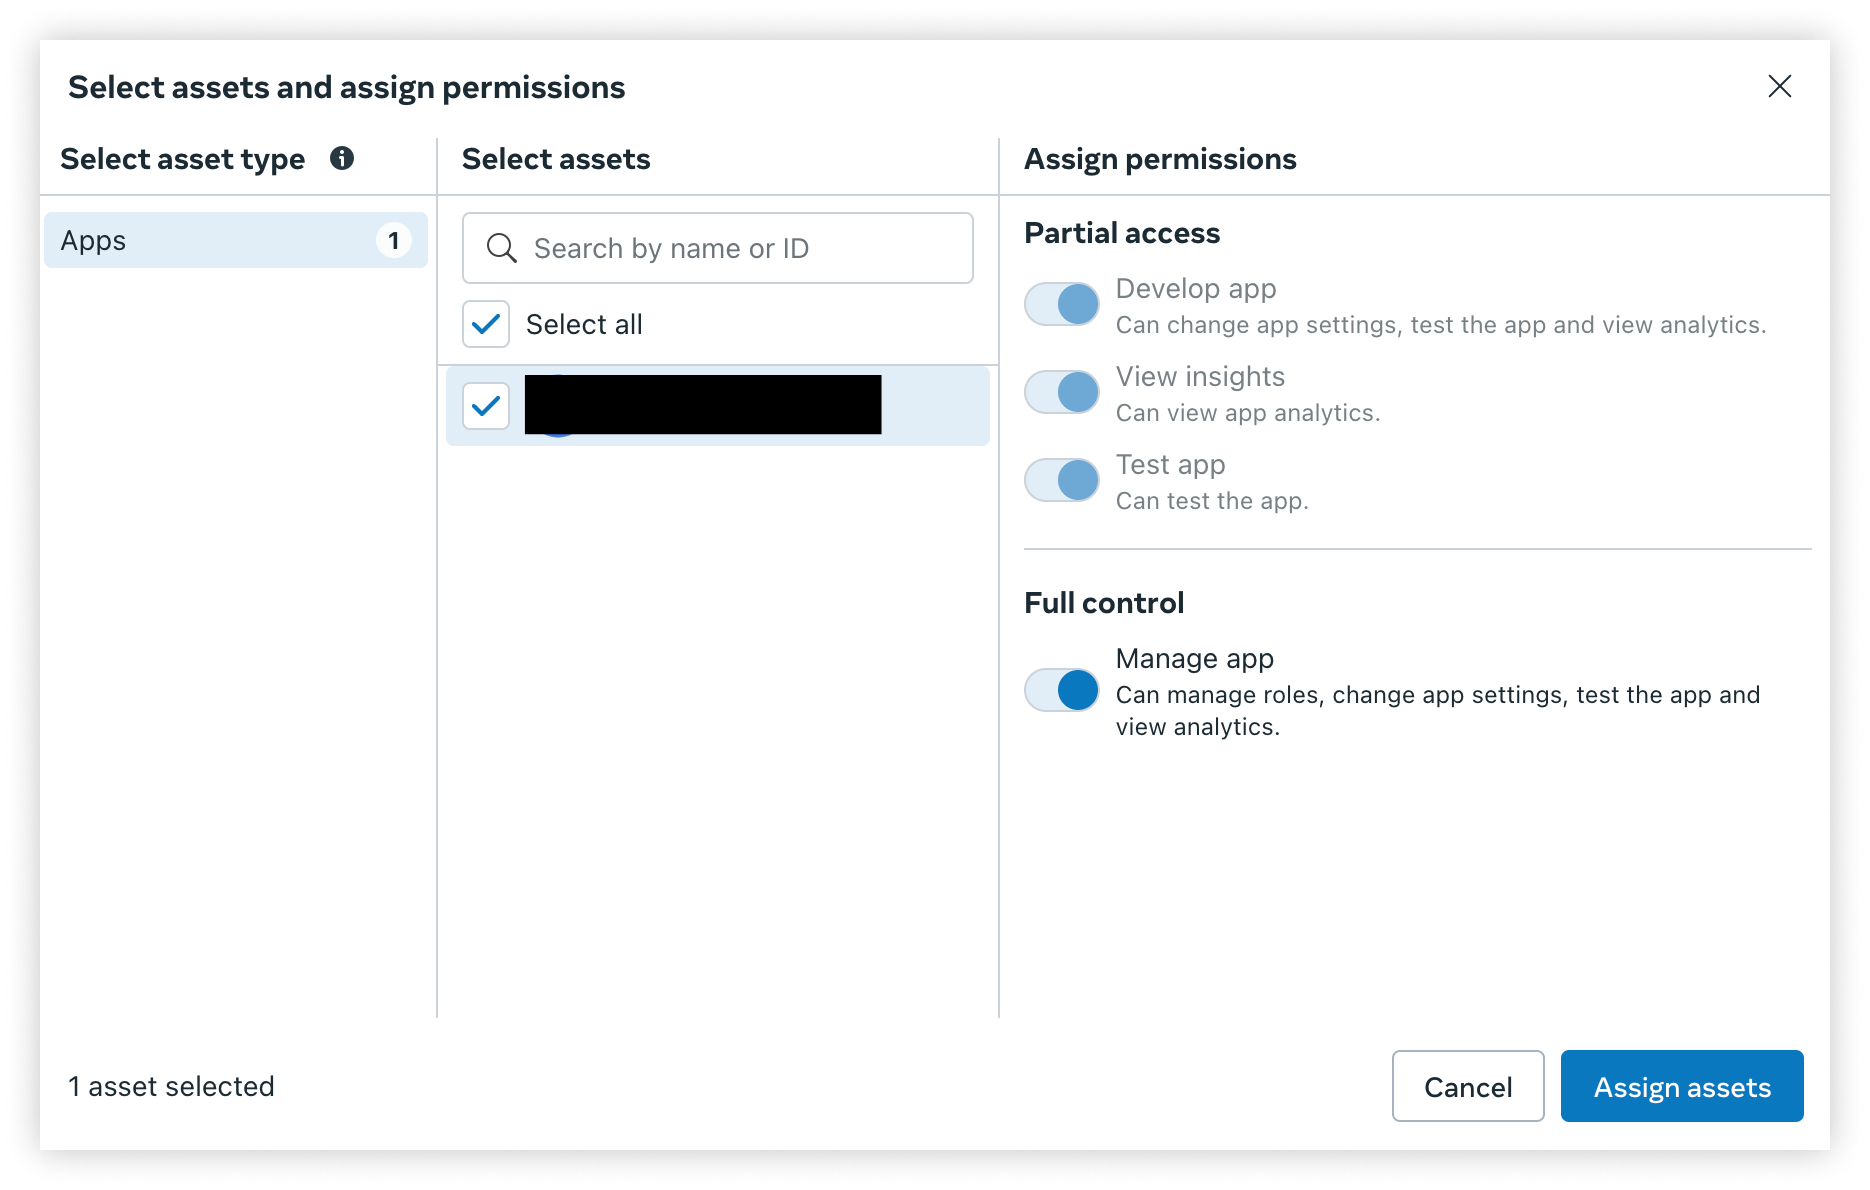
Step 4: Assign Assets
Assign to system user:
- WhatsApp Business Account
- Meta App

Grant full control permissions
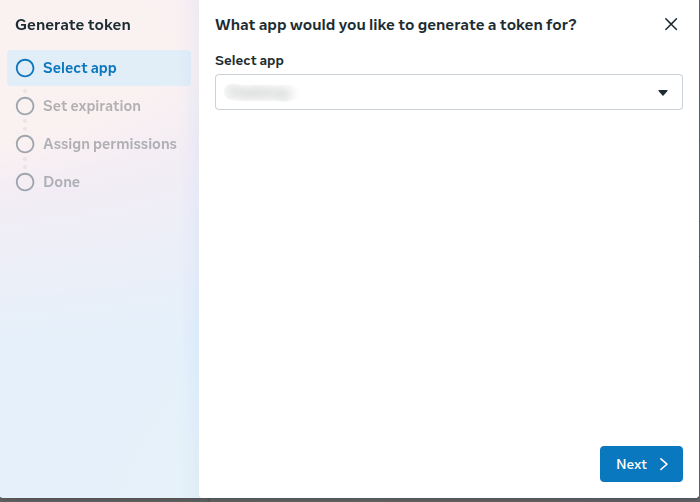
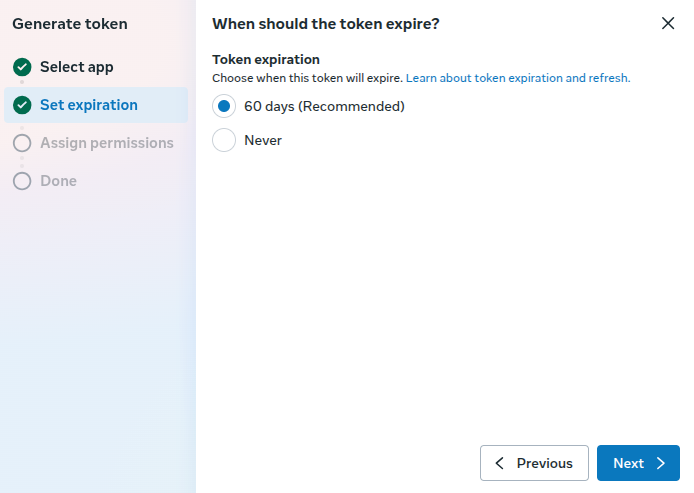
Step 5: Generate System User Access Token
- Go to System User → Generate Token
- Select your app
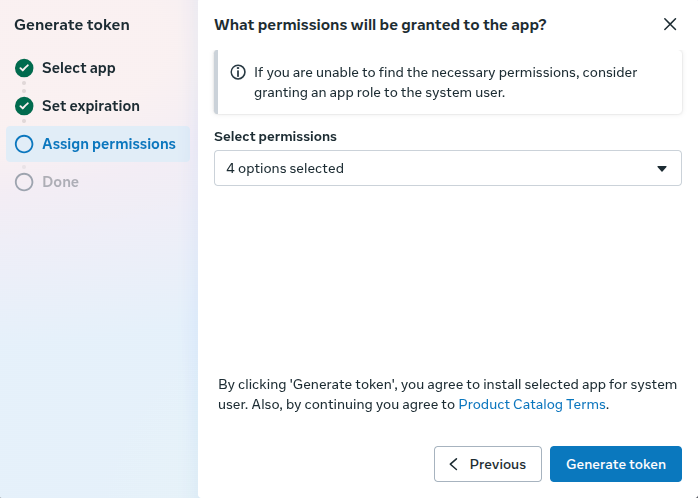
- Add required permissions:
- business_management
- whatsapp_business_management
- whatsapp_business_messaging
- catalog_management
- Generate token
Step 6: Configure Token in Wapto
- Copy access token
- Add it to Wapto settings
- Connect phone number
SECTION 5: Webhook Permissions
Subscribe to events:
- messages
- message_status
- message_template_status
Purpose:
- Receive incoming messages
- Track delivery and read status
SECTION 6: Common Issues
- Missing permissions → API fails
- Wrong asset assignment → access denied
- Expired token → authentication error
- Using user token instead of system user token
SECTION 7: Best Practices
- Always use System User tokens
- Use long-lived tokens
- Restrict access to admins
- Regularly verify permissions
- Secure tokens (never expose publicly)
IMPORTANT NOTES
Permissions must be:
- Approved (if required by Meta)
- Assigned correctly
Without required permissions:
- Wapto features will not work
- Message sending will fail